Not everyone is excited about handing their bank login to another app. Maybe you do not like the idea of extra companies sitting between you and your accounts, or you simply feel better when your bank credentials stay between you and your bank.
If you want a budgeting app that does not require you to connect your bank at all, Koody is built for that. You can run the app in a manual-first, no-bank mode and still get the full experience.
In this guide, you will see how to:
- Set up a manual bank or cash bucket inside Koody.
- Add accounts and a starting balance without connecting to a real institution.
- Record income and expenses manually, or import history from CSVs and statements.
- Create budgets that track your categories and limits over time.
- Share budgets and ask Koody AI questions about your numbers, all without linking a bank.
The end result is simple: you get a modern budgeting app with clear budgets, charts, and insights, while staying fully in control of what data comes in and when.
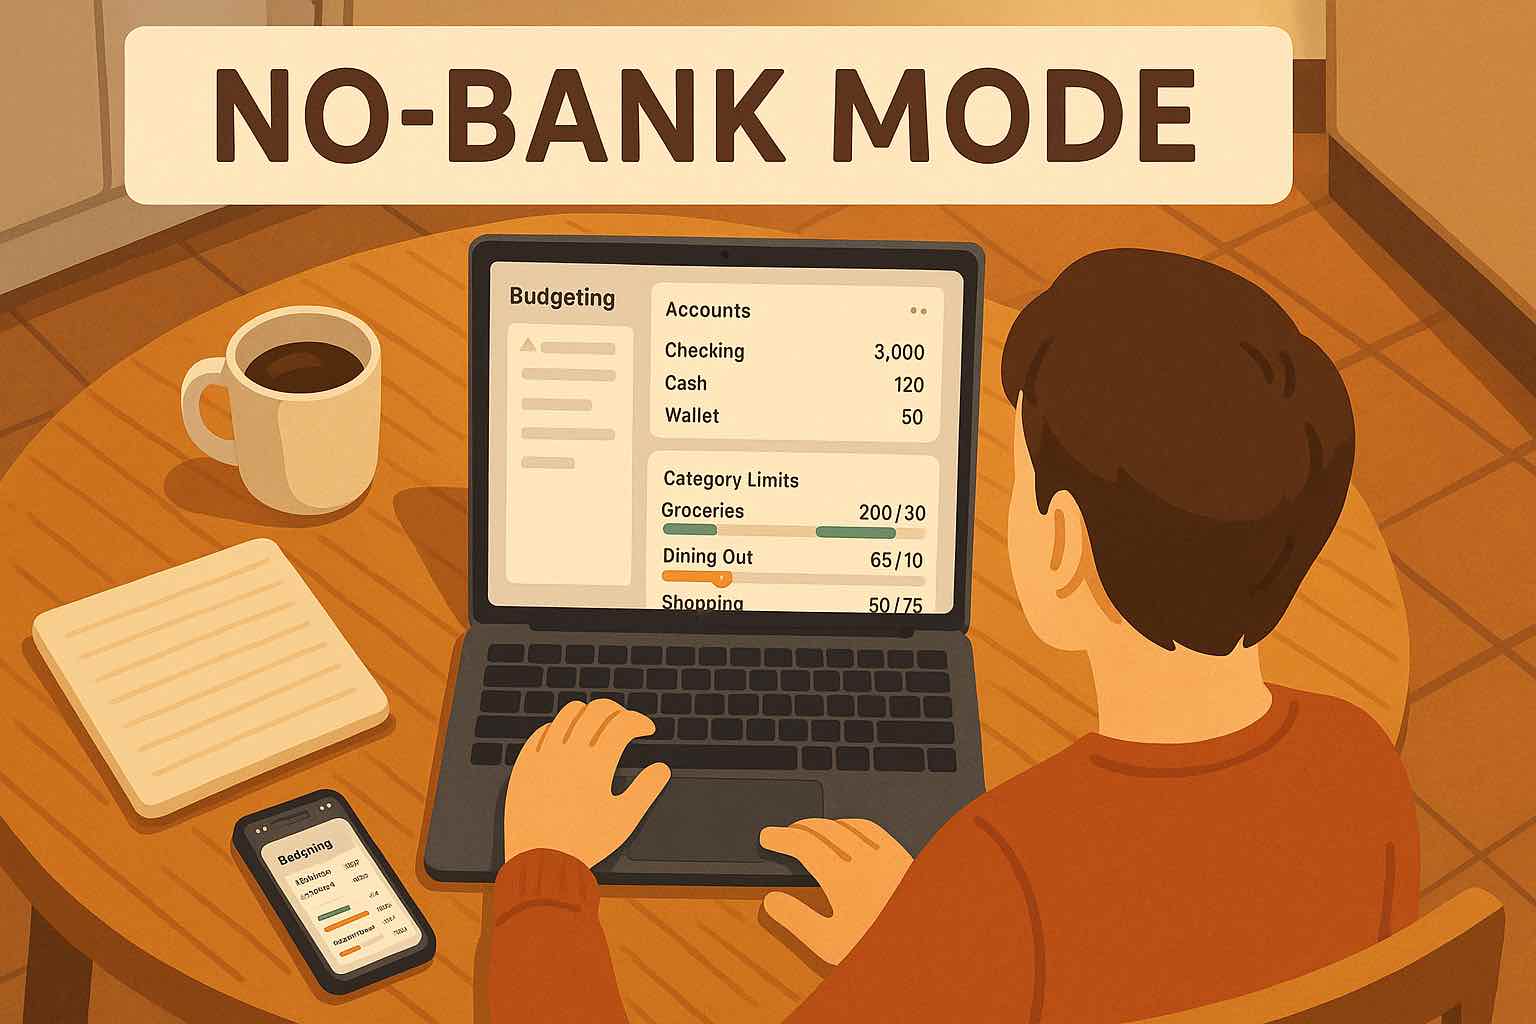
Step 1: Set Up A Manual Bank Or Cash Bucket
The first step in no-bank mode is to tell Koody where your money “lives.” You do this in the Banks tab. Instead of connecting to a real bank, you create a manual bank or use Cash as your starting container.
You have a few options when you add a bank:
- Choose your real bank name from the dropdown so you see a familiar logo and label.
- Use Other and type your own label, such as "Personal," "Business," or "My Bank."
- Pick Cash from the dropdown if you want to skip banks entirely and treat everything as cash.
Even in manual mode, using your real bank name can make the app feel more familiar and reduce confusion when you have multiple banks. Custom labels like “Personal” or “Business” are fine too, as long as you avoid names that will confuse you later (for example, using the same word for a bank, an account, and a category).
If you are not sure what to do and just want to start, choosing Cash is often the quickest path. You can always add more manual banks later as you get comfortable.
Step 2: Add Accounts And A Starting Balance
After you create a bank or cash bucket, you add accounts under it in the Banks tab. An account is the thing you will actually log transactions against.
Common examples include:
- Checking or current accounts.
- Credit cards.
- Savings or money market accounts.
- Cash in your wallet or at home.
- Specific stashes such as "Glove Compartment" or "Travel Envelope."
Koody gives you a list of account types plus an Other option. You pick the type, give the account a name that makes sense to you, and then enter a current balance. That balance is important—it tells Koody how much money you have in that account right now and becomes your starting point.
From that moment on:
- Every income transaction you add increases the balance for that account.
- Every expense decreases it.
- Transfers move money between accounts while keeping your overall totals consistent.
You can create as many accounts as you need under a bank or cash bucket, but keeping the list simple and clearly labeled usually works best. The whole setup—creating a bank or choosing Cash, adding accounts, and entering balances—takes only a few seconds.
Step 3: Record Income And Expenses
Once your manual accounts exist and have starting balances, you can start feeding Koody real activity without linking a bank. There are two main options: recording transactions manually as they happen, and importing history from CSVs and statements.
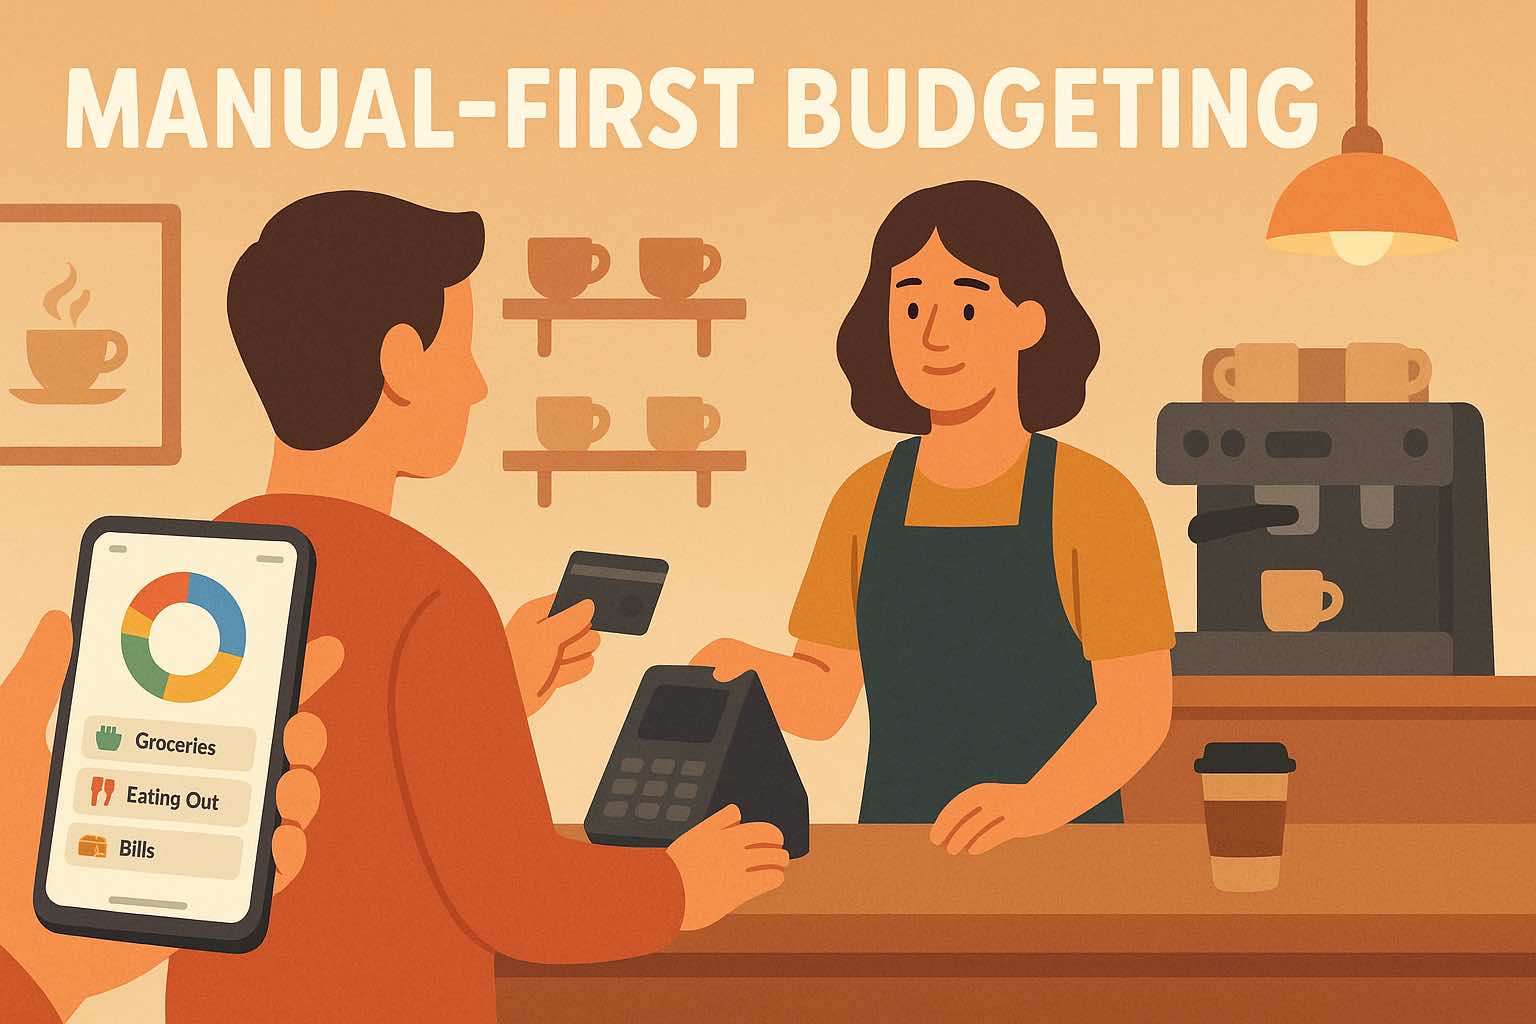
Manual entry: staying close to your spending
Manual entry is the purest form of no-bank budgeting. Whenever something happens with your money, you add it to Koody:
- You get paid → log income to the correct account and category.
- You buy groceries → log an expense, pick the merchant and category, and choose the account that paid.
- You move money between accounts → log a transfer from one account to another.
- You know a bill is coming → add a future transaction so it shows up in your plans.
Each entry only takes a few seconds, but the benefit is huge: you see every transaction, on purpose. Many people naturally spend less and feel more in control simply because they have to touch each transaction as they go.
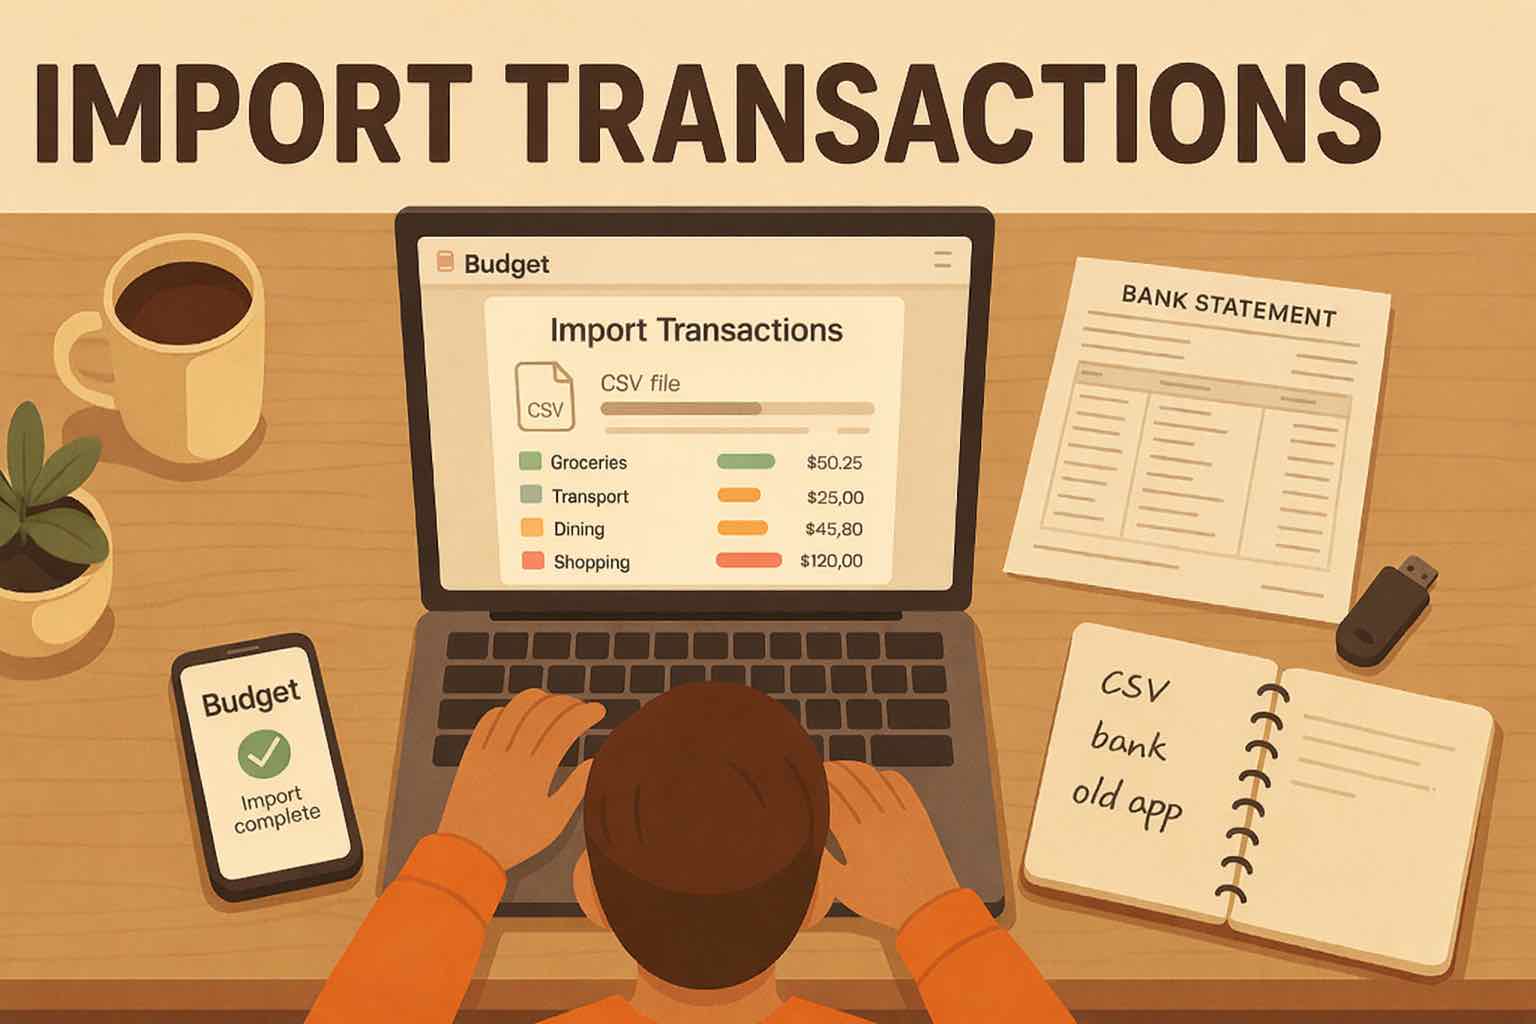
CSV imports: bringing in history without bank sync
If you want Koody to have some history without typing everything in by hand, you can download CSV files or statements from your bank's website and import them. This still does not require you to connect your bank to Koody.
The basic flow looks like this:
- Sign in to your bank's website directly.
- Download a CSV or statement with your transaction history.
- Upload that file into Koody.
Koody will read the file, clean it up, and create transactions you can see in your accounts, categories, and budgets. Once imported, these transactions behave exactly like manually entered ones.
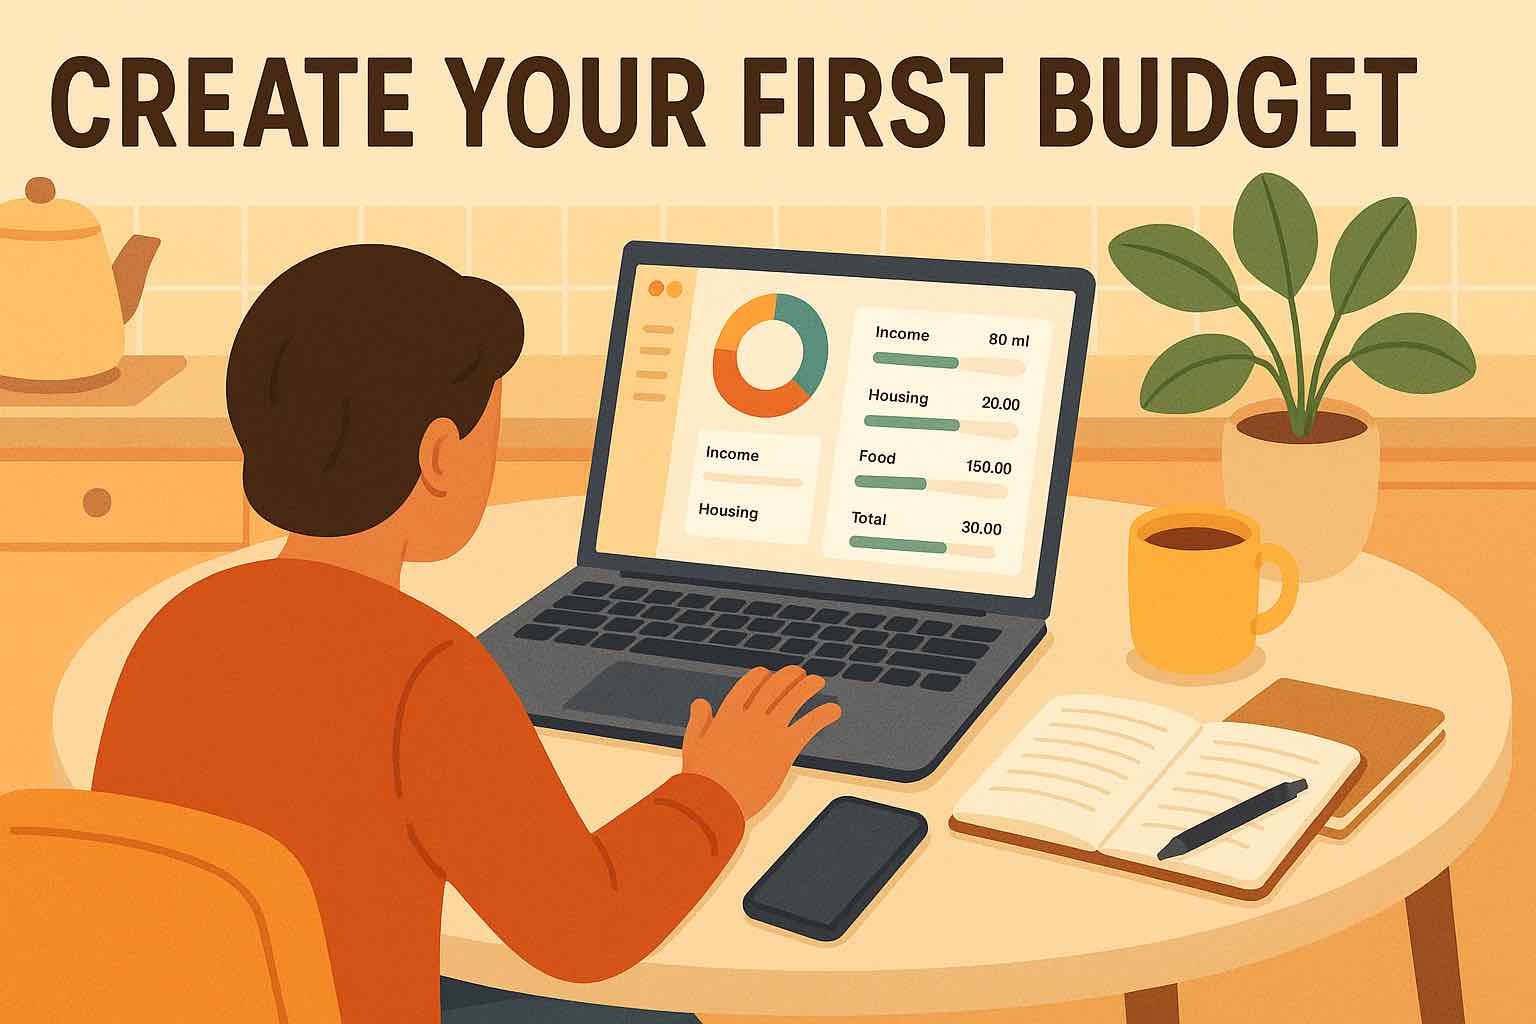
Step 4: Use Budgets In No-Bank Mode
With activity flowing into your manual accounts, you can use budgets just like any other Koody user. A budget is a collection of categories with spending limits for a specific date range and set of accounts. It works the same whether those accounts are linked to real banks or created manually by you.
To create a budget in no-bank mode:
- Go to the Budgets tab and click New.
- Give the budget a clear name, such as "Monthly Budget" or "January Household Budget."
- Choose a start date and end date, or set a frequency if you prefer a repeating pattern.
- Use the Bank Accounts dropdown to select your manual accounts.
- Check the categories you want to include and set a spending limit for each one.
- Watch the Total Budget at the bottom update as you type in limits.
- Add optional notes so you remember what you were trying to do.
- Click Save to create the budget.
As you add or import transactions, the budget view shows you:
- How much you have spent in each category versus its limit.
- Overall spending, inflows, and outflows for the budget period.
- Refunds and reversals and how they affect your net spending.
- Charts and summaries that make it easy to see what is working and what is not.
When the budget reaches its end date, it expires and becomes read-only. You can no longer adjust its category limits or structure, but you can always open it later and see:
- The original limits you set.
- All the transactions that fell into that budget.
- The charts, summaries, and notes for that period.
That is what makes budgets more powerful than just editing category limits on the Categories tab. Your current category limits can change over time. Budgets stay frozen in place as a permanent record of what you were trying to do and how you actually did.
Step 5: Use Budgets And Koody AI
Staying in no-bank mode does not turn off the smart parts of Koody. You can still use budget planning and Koody AI on top of your manual data.
Household budgets without bank logins
If you track household money, one account owner can keep a clear budget without connecting real bank logins. In a typical setup:
- You keep your real bank logins private.
- You keep manual banks, accounts, and categories organized inside Koody.
- The account owner records transactions as spending happens.
- The budget pulls everything together into one clear view.
This makes it easier to have calm, fact-based conversations about money without handing over bank credentials.
Koody AI on top of manual numbers
Koody AI works with your budgets and transactions regardless of how they got there. In no-bank mode, you can open Koody AI and ask questions such as:
- "Where am I overspending in this budget?"
- "If I keep spending like this on groceries, will I go over my limit?"
- "What changed the most compared to my last budget?"
- "If I want to cut a certain amount this month, which categories make the most sense to trim?"
Koody AI looks at your actual numbers inside Koody—your manual accounts, categories, and budgets—and gives you answers based on your real situation, not generic tips copied from somewhere else.
FAQs: Using Koody Without Linking Your Bank Accounts
1. Do I have to connect my bank to use Koody?
No. You can use Koody entirely in manual mode. You set up manual banks and accounts yourself, give them starting balances, add or import transactions, and use budgets and insights without ever entering a real bank login.
2. Will I miss out on features if I do not link my bank?
No. You still get the core experience: manual and imported transactions, categories, budgets, charts and summaries, balance analysis, and Koody AI on top of your real numbers. The main thing you give up is automatic syncing. You decide whether the extra control and privacy are worth a bit more hands-on work.
3. How much work is manual entry?
The initial setup, creating a bank or choosing Cash, adding accounts, and setting starting balances, takes only a few seconds. Recording transactions does take more effort than full automation, but many people find they feel calmer and more in control because they actively see every transaction as they add it.
4. Can I import CSV files instead of typing everything?
Yes. You can download statements or CSV files from your bank's website, import them into Koody, and let the app turn them into transactions without linking your bank. Once imported, those transactions behave just like manually entered ones inside your budgets and reports.
5. Is Koody a good fit if I care a lot about privacy?
If you want a budgeting app that respects your preference not to link a bank, Koody is a strong fit. You decide what comes in, how often data is updated, and who sees it. Koody gives you modern tools, budgets, charts, and AI, on top of a manual-first, bank-optional workflow.
New here? Start tracking your spending in Koody today.